
Vanilla soap is a simple, comforting DIY that brings a warm, familiar scent into everyday skincare. Made with real vanilla beans and a melt-and-pour soap base, this recipe creates gentle bars with a naturally soft aroma and subtle visual texture from the vanilla caviar. It’s an approachable project for beginners and a great way to elevate handmade soap without complicated techniques.

Using whole vanilla beans allows you to infuse the soap naturally rather than relying on synthetic fragrance alone. While vanilla has a lighter scent on its own, adding essential oils helps round out and strengthen the aroma, creating a balanced bar that feels cozy and classic. Because this is a melt-and-pour recipe, there’s no curing time required, making it ideal for quick gifts or small-batch crafting.
DIY Vanilla Soap
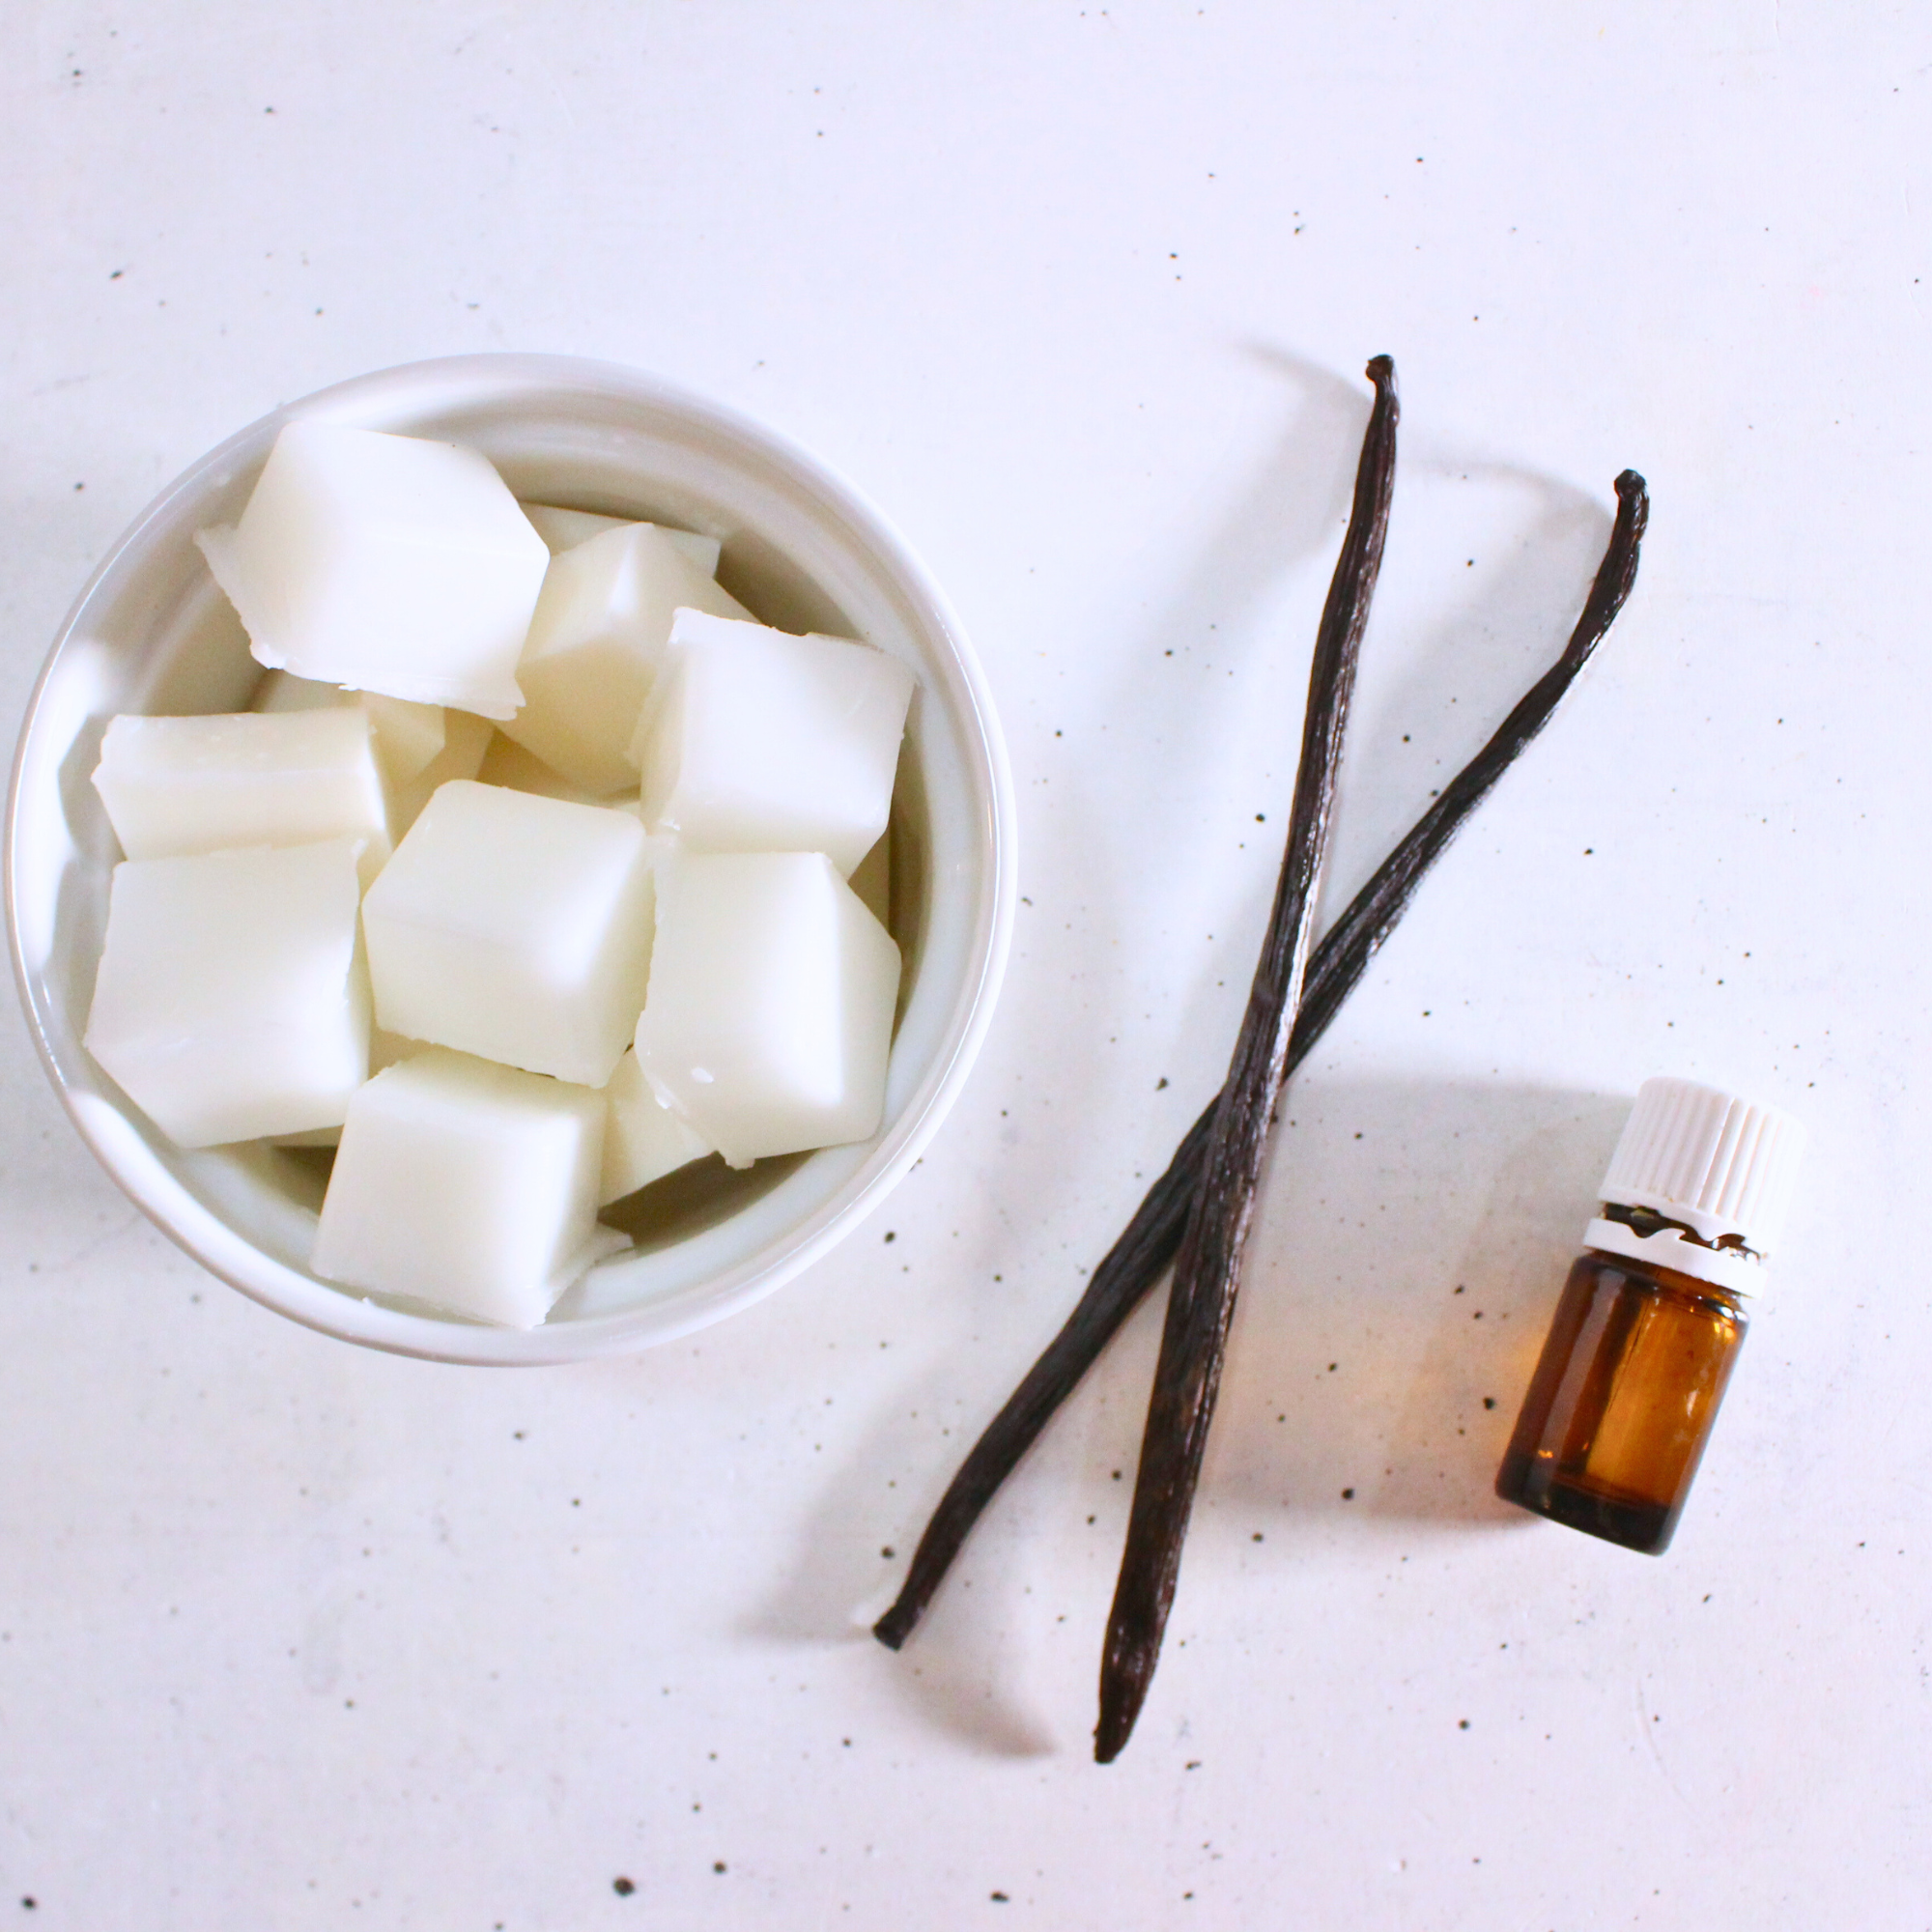
For this DIY you will need vanilla beans, melt & pour soap base, essential oils, and a soap mold.
Slice each vanilla bean lengthwise. Scrape out the vanilla caviar (the tiny black seeds inside) and set both the seeds and the empty pods aside.
Cut the melt-and-pour soap base into small cubes. Place them in a heat-safe glass container. Add the vanilla caviar and the empty vanilla pods directly to the soap base.
Melt slowly using a double boiler or microwave in 30-second intervals, stirring between each round until fully melted.
Once melted, allow the mixture to gently steep on low heat for 10–15 minutes to infuse the vanilla scent.
Carefully remove the vanilla pods. Stir in 10–15 drops of essential oils, if using, mixing well to distribute evenly.
Pour the soap into your silicone mold. Lightly spray the surface with rubbing alcohol to remove air bubbles if needed.
Let the soap harden for 2–4 hours. Once fully set, unmold and store or use.

Tips & Substitutions
- Essential oils such as vanilla oleoresin, sweet orange, or benzoin pair well with vanilla.
- If you prefer a smoother bar, strain out the vanilla caviar before pouring.
- White melt-and-pour bases will show the vanilla specks more clearly than clear bases.
- For stronger scent, stay within recommended essential oil usage for melt-and-pour soap.
How to Use
Use like any regular bar soap for handwashing or body use. Allow the bar to dry between uses to extend its life.
FAQ
Does vanilla soap darken over time?
Yes. Vanilla naturally darkens soap, which is normal and expected. The color change does not affect performance.
Is the scent strong?
The natural vanilla aroma is soft. Essential oils help strengthen and round out the scent.
Can I skip essential oils?
Yes. The soap will still have a mild vanilla scent from the beans alone.
How long does melt-and-pour soap last?
When stored in a cool, dry place, bars can last a year or longer.
Is this safe for sensitive skin?
Melt-and-pour soap bases are generally gentle, but always patch test if you have sensitivities.
Related Recipes:
- DIY Coffee Scrub Soap Recipe
- How to Make Whipped Soap
- Homemade Charcoal Soap with Tea Tree Oil
- DIY Green Clay Soap Recipe
- DIY Pine Soap (Easy Melt & Pour Recipe)
- DIY Dish Soap Bar (Solid Dish Soap)
- Homemade Dish Soap
DIY Vanilla Soap Recipe
Vanilla soap is a simple, comforting DIY that brings a warm, familiar scent into everyday skincare. Made with real vanilla beans and a melt-and-pour soap base, this recipe creates gentle bars with a naturally soft aroma and subtle visual texture from the vanilla caviar.
Ingredients
- 1/2 lb melt and pour soap base
- 2 whole vanilla beans
- 10–15 drops essential oils (optional)
- Silicone soap mold
Instructions
- Slice each vanilla bean lengthwise. Scrape out the vanilla caviar (the tiny black seeds inside) and set both the seeds and the empty pods aside.
- Cut the melt-and-pour soap base into small cubes.
- Place them in a heat-safe glass container. Add the vanilla caviar and the empty vanilla pods directly to the soap base.
- Melt slowly using a double boiler or microwave in 30-second intervals, stirring between each round until fully melted.
- Once melted, allow the mixture to gently steep on low heat for 10–15 minutes to infuse the vanilla scent. Carefully remove the vanilla pods.
- Stir in 10–15 drops of essential oils, if using, mixing well to distribute evenly. Pour the soap into your silicone mold.
- Lightly spray the surface with rubbing alcohol to remove air bubbles if needed. Let the soap harden for 2–4 hours.
- Once fully set, unmold and store or use.
Notes


Leave a Comment