Evaporated milk is one of those handy pantry staples that any good kitchen should plan to keep on hand.
Useful in all kinds of different recipes as a replacement for milk, or as a way to add richness and creaminess to basically anything, evaporated milk is incredibly underrated.
However, you don’t have to just buy those tiny little cans that take up space in your pantry until you use them – you could also just go ahead and make it yourself!
How Can I Use My Homemade Evaporated Milk?
Homemade evaporated milk can be used as a direct replacement for regular evaporated milk, but can also be used to replace regular milk in any application where you aren’t looking for total volume.
This means that you can use evaporated milk in things like coffee or tea, or to provide that milky richness, but not so much where you are looking to make something like a béchamel sauce, where the majority of the liquid volume comes from the milk itself.
What Kind Of Special Equipment Do I Need To Make Evaporated Milk?
Making evaporated milk is as simple as heating milk and carefully reducing it until it is about halfway evaporated, gradually caramelizing a few of the sugars in the milk and reducing its volume. So the only thing you really need is a heavy-bottomed saucepan that won’t burn the bottom of the milk and you should be good!
A fine-meshed sieve can also be a good tool to use as well, as it can help with straining out some of the weird solids left behind if any milk burns onto the bottom.
Ingredients
2 cups full-fat milk

How To Make Homemade Evaporated Milk
Step 1 – Pour your milk into a heavy-bottomed, wide saucepan that doesn’t burn easily, and bring it to a boil over medium-high heat.
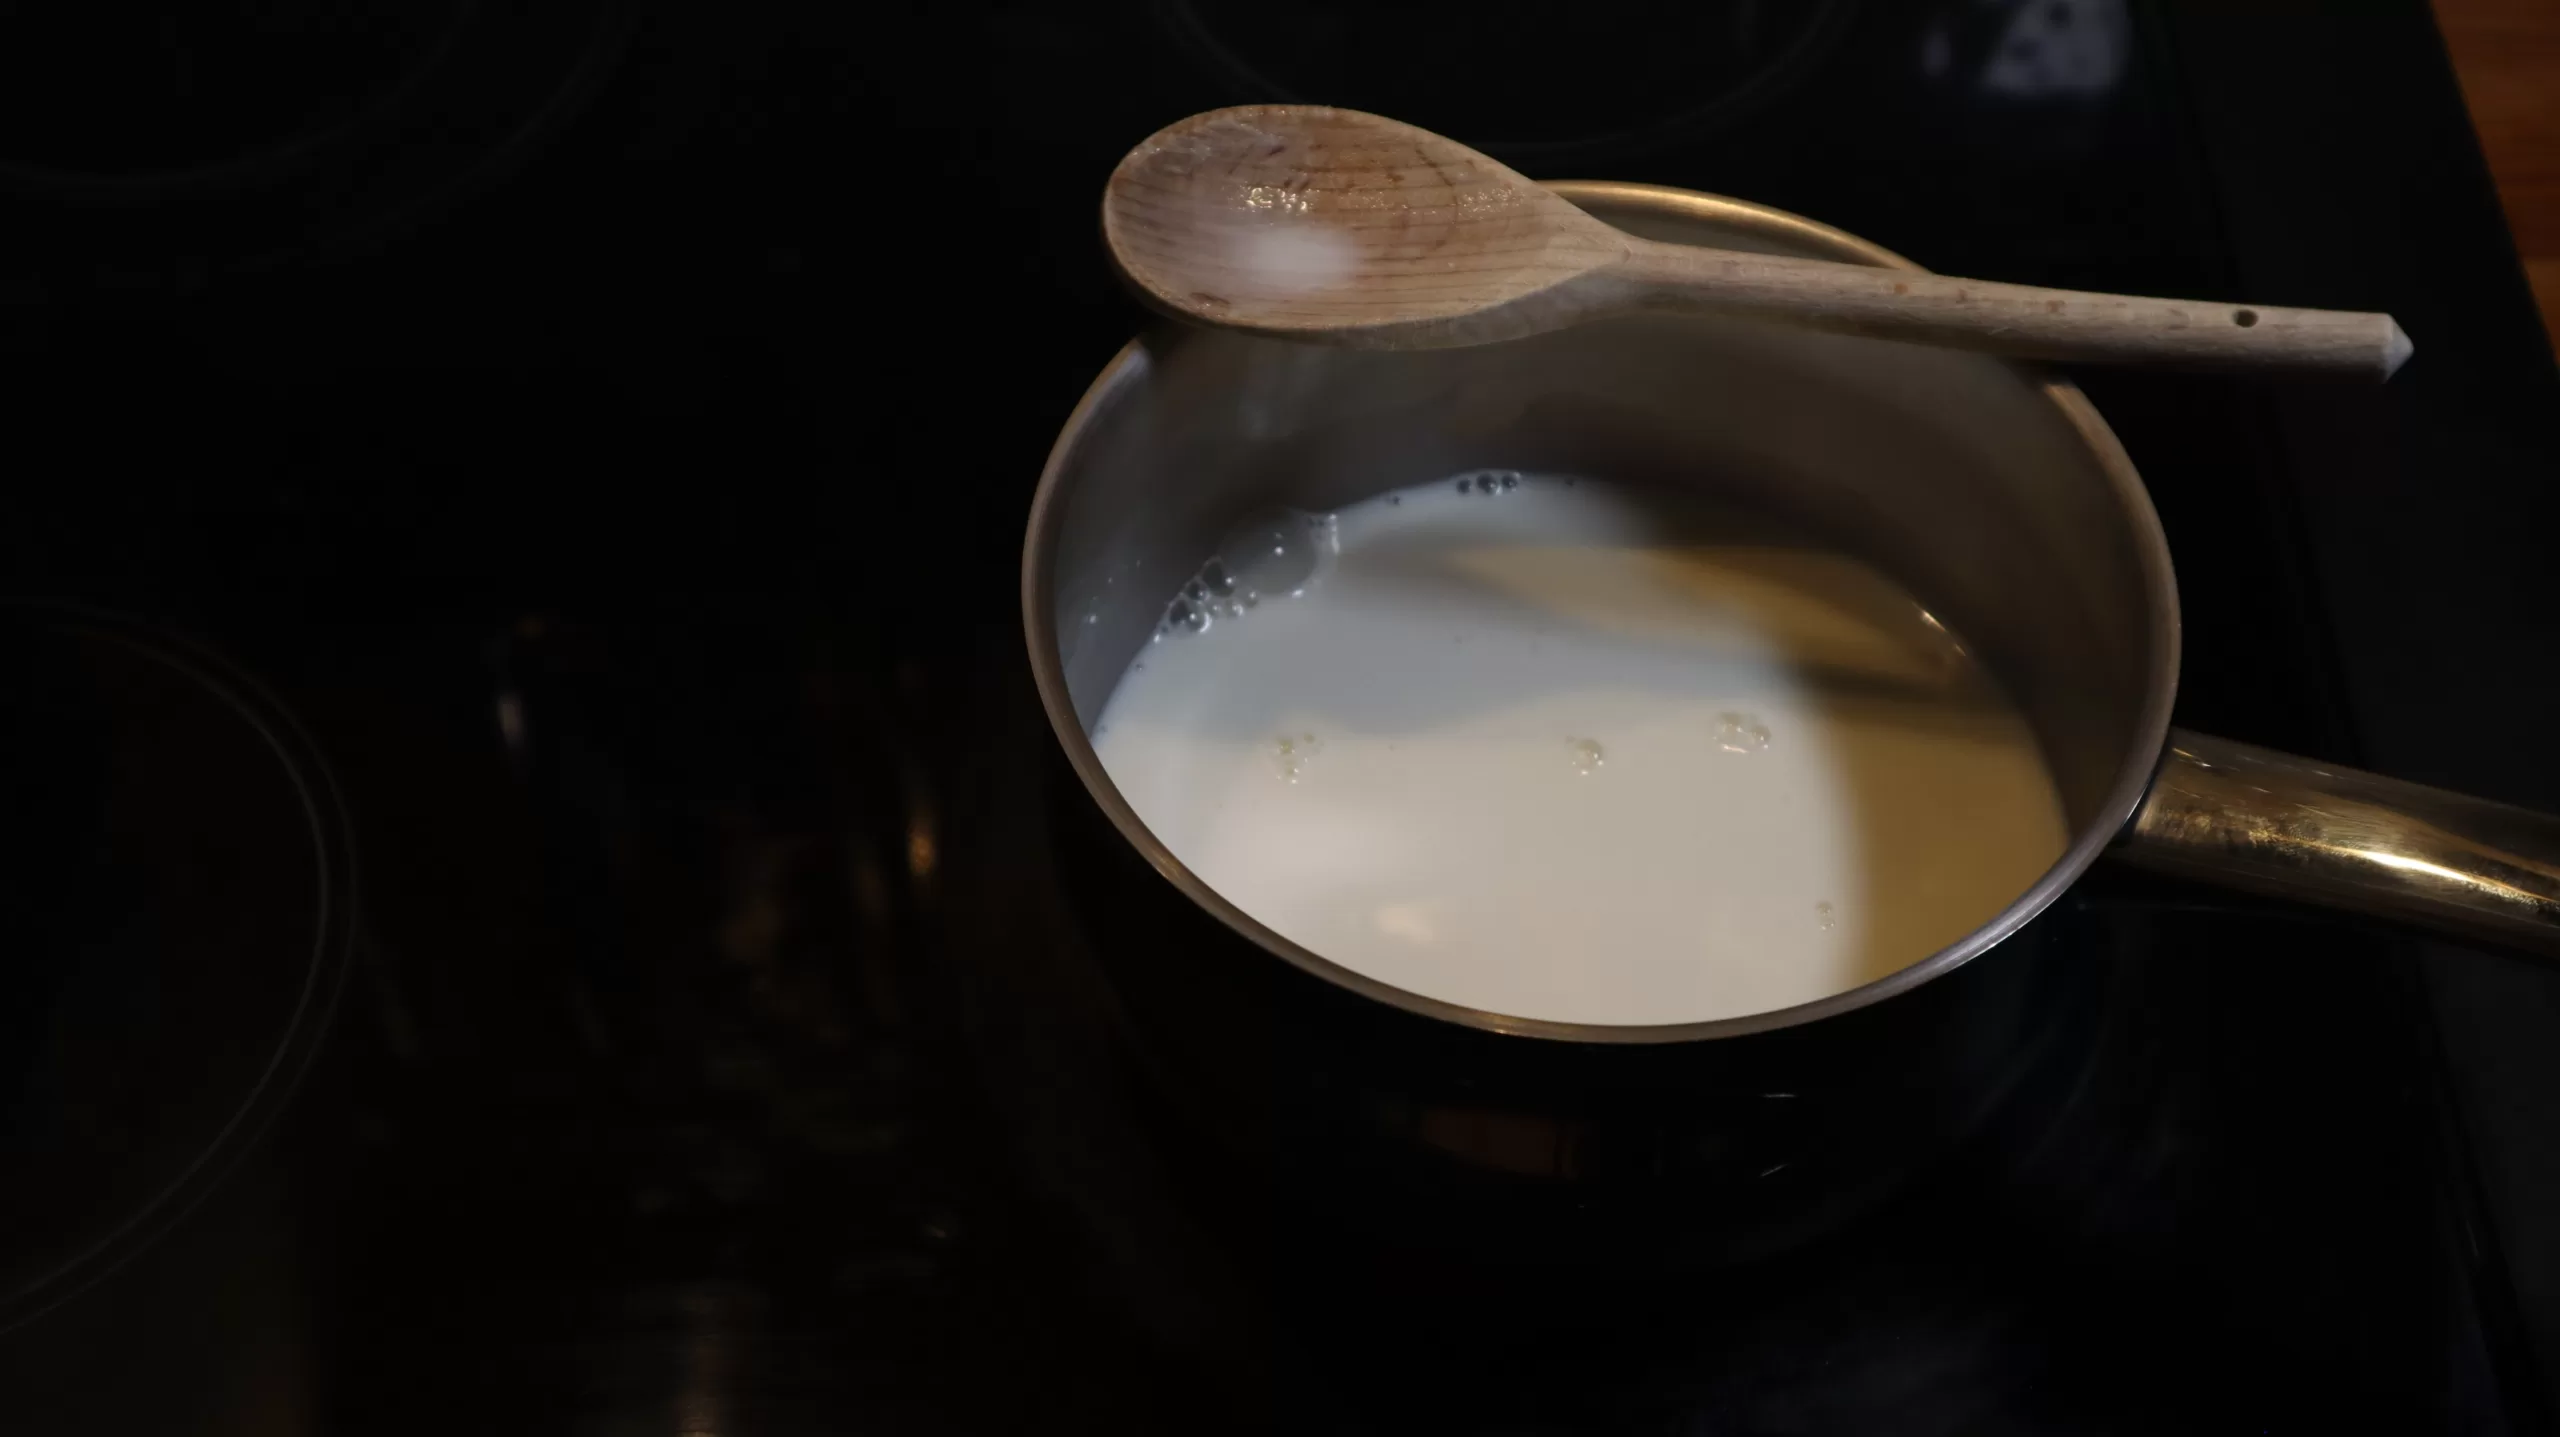
Step 2 – Once the pot is gently simmering, reduce the heat to medium, and stir it with a spatula really heavily, to help scrape up any bits that are getting stuck to the bottom.
Step 3 – Continue boiling and stirring until the mixture has reduced by over half, around 25-30 minutes, and then remove from the heat and let it cool to room temperature.

Step 4 – Run your evaporated milk through a fine-meshed sieve to catch any burnt bits of milk, and then store your evaporated milk in a sealed container in the fridge for up to one week.

Troubleshooting Tips
• The biggest problem you might run into when making evaporated milk is your milk burning onto the bottom of the pan as you boil it down. The best way to avoid this is to be constantly monitoring the heat and stirring everything pretty vigorously as It cooks. By stirring it as often as possible, you mitigate the chance that any of the milk will have a chance to sear onto the bottom.
• One thing you might notice with your evaporated milk is that, no matter how hard you try to avoid burning anything, some of the milk will manage to burn onto the bottom. However, don’t worry, you can easily remove any excess burnt bits of congealed milk by just running your finished evaporated milk through a fine-meshed strainer to filter out any of those chunky, overcooked milk bits.
Watch the Video Version

Nutritional Facts
For the health-conscious out there, here are the nutritional details for 1/4 cup of evaporated milk.
Calories: 29
Total Fat: 1.6 grams
Saturated Fat: 1 grams
Cholesterol: 0 milligrams
Sodium: 0 milligrams
Total Carbohydrates: 2.6 grams
Dietary Fiber: 0 grams
Sugars: 0 grams
Protein: 1 gram
Potassium: 0 milligrams
FAQs
Evaporated milk and condensed milk are often sold alongside one another at the grocery store, but what exactly is it that makes them so different?
Well, condensed milk is basically just evaporated milk that has been sweetened with a good amount of sugar. This does more than just sweeten it, though! It adds a ton of texture and creaminess and makes it something totally different from evaporated milk.
Unfortunately, one flaw with making evaporated milk is that it won’t typically last very long. This is because, unlike something like condensed milk, evaporated milk doesn’t have any added sugar in it, meaning that it doesn’t have that extra sweetness to help fight off bacterial infection.
This means that you should probably keep your evaporated milk in the fridge, and check it with a cautious sniff every time you use it, just to make sure it hasn’t gone off yet.
Any time milk is used in a recipe; there is always the question of what kind of fat percentage is acceptable to be used.
Well, this recipe calls for full-fat milk, and for good reason! When you make evaporated milk you are basically removing as much of the water as possible without scorching anything, leaving behind only the fat and congealed sugar.
But if you used low-fat milk, there really isn’t anything in it except water, so you would end up with basically no evaporated milk at the end of your boiling!

How to Make Evaporated Milk at Home
Ingredients
2 cups full-fat milk
Instructions
Step 1 – Pour your milk into a heavy-bottomed, wide saucepan that doesn’t burn easily, and bring it to a boil over medium-high heat.
Step 2 – Once the pot is gently simmering, reduce the heat to medium, and stir it with a spatula really heavily, to help scrape up any bits that are getting stuck to the bottom.
Step 3 – Continue boiling and stirring until the mixture has reduced by over half, around 25-30 minutes, and then remove from the heat and let it cool to room temperature.
Step 4 – Run your evaporated milk through a fine-meshed sieve to catch any burnt bits of milk, and then store your evaporated milk in a sealed container in the fridge for up to one week.
Nutrition Facts
- Serving Size: 1/4 cup


Leave a Comment