There are all kinds of interesting flours out there – from plain and self-raising to wholemeal and rye, there is a flour type for every use.
But one type of flour that doesn’t get a lot of love is one that you can easily make yourself at home; sprouted flour.
Made from sprouting wheat berries, this type of flour is funky, sweet, and way more flavourful than any other flour you can get your hands on, so why not learn how to make it yourself?
How Can I Use My Homemade Sprouted Flour?
Homemade sprouted flour can be used in place of literally any other type of flour you can imagine and will add tons of tangy, sweet flavors to whatever you bake with it.
What Kind Of Special Equipment Do I Need To Make Sprouted Flour?
Making sprouted flour is as easy as soaking grains, draining them, and then dehydrating and grinding them into flour, so the only things you need to make this are a bowl, an oven, a way to grind the wheat berries into flour, and ideally a sieve to help filter the water.
Ingredients
1 cup whole wheat berries

How To Make Homemade Sprouted Flour
Step 1 – Pour your grains into a large bowl, and cover them completely with warm water, leaving an excess of around 2 inches of water on top to accommodate your wheat berries swelling.
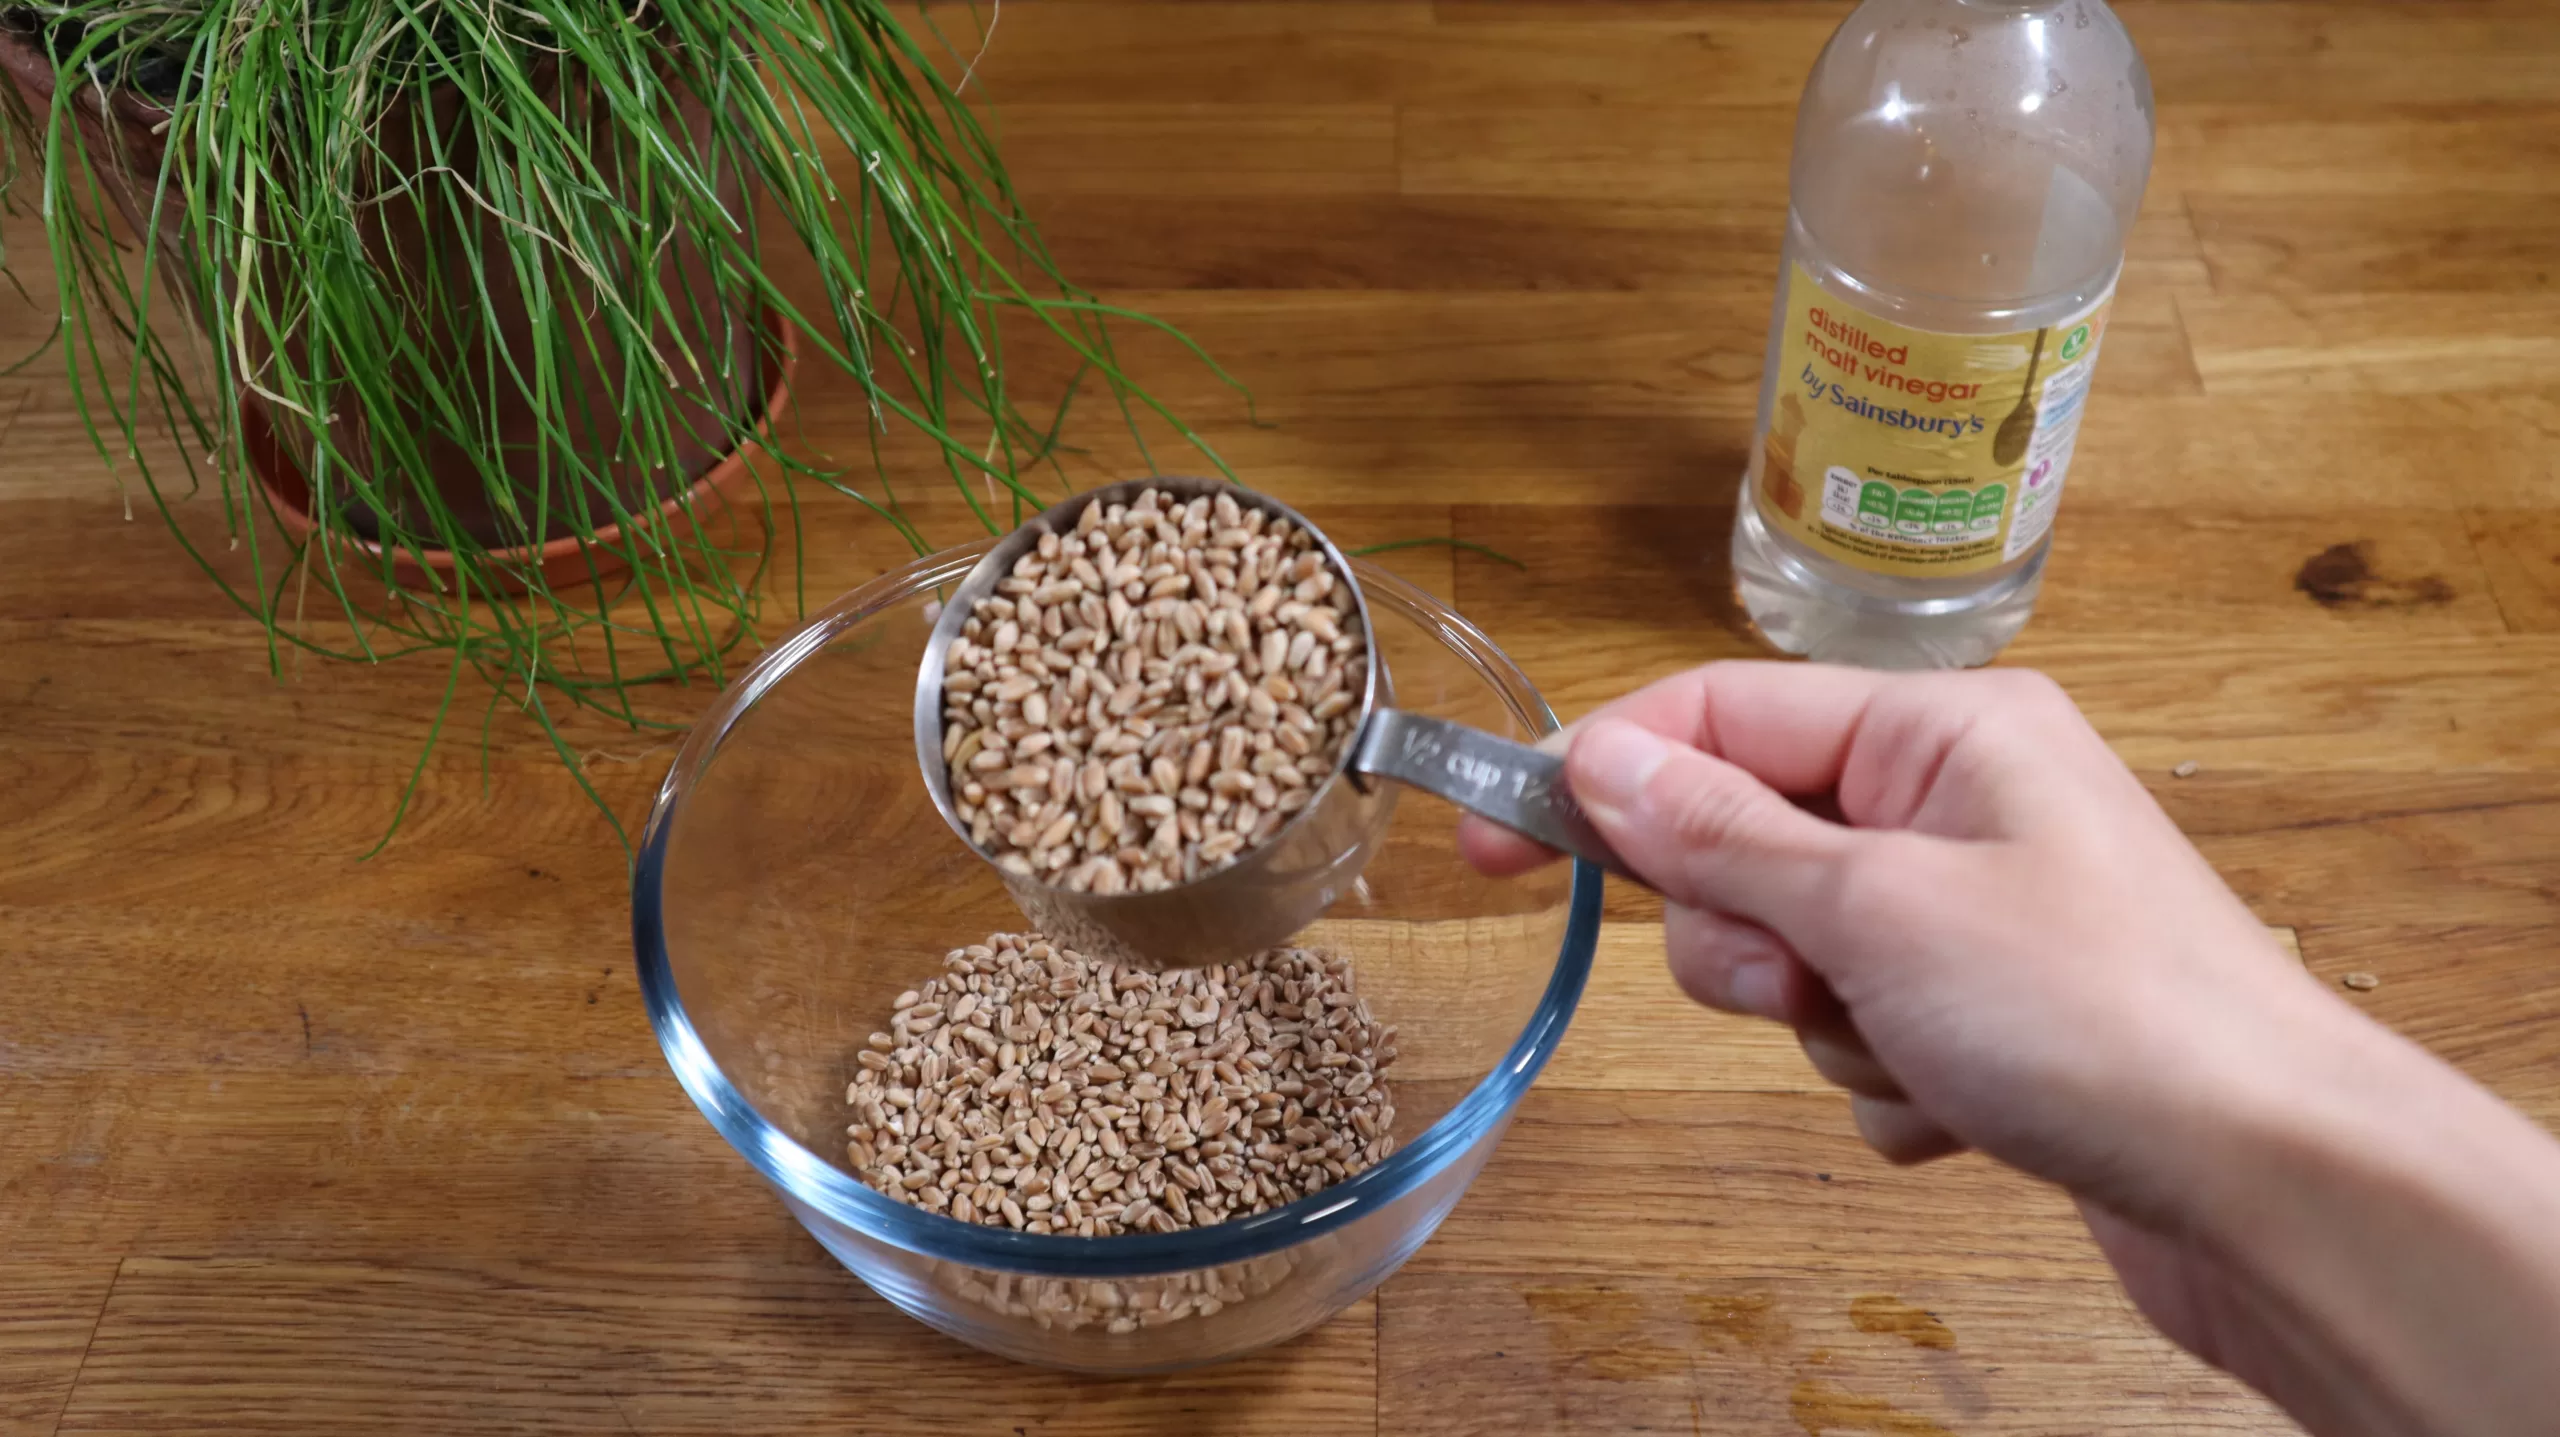
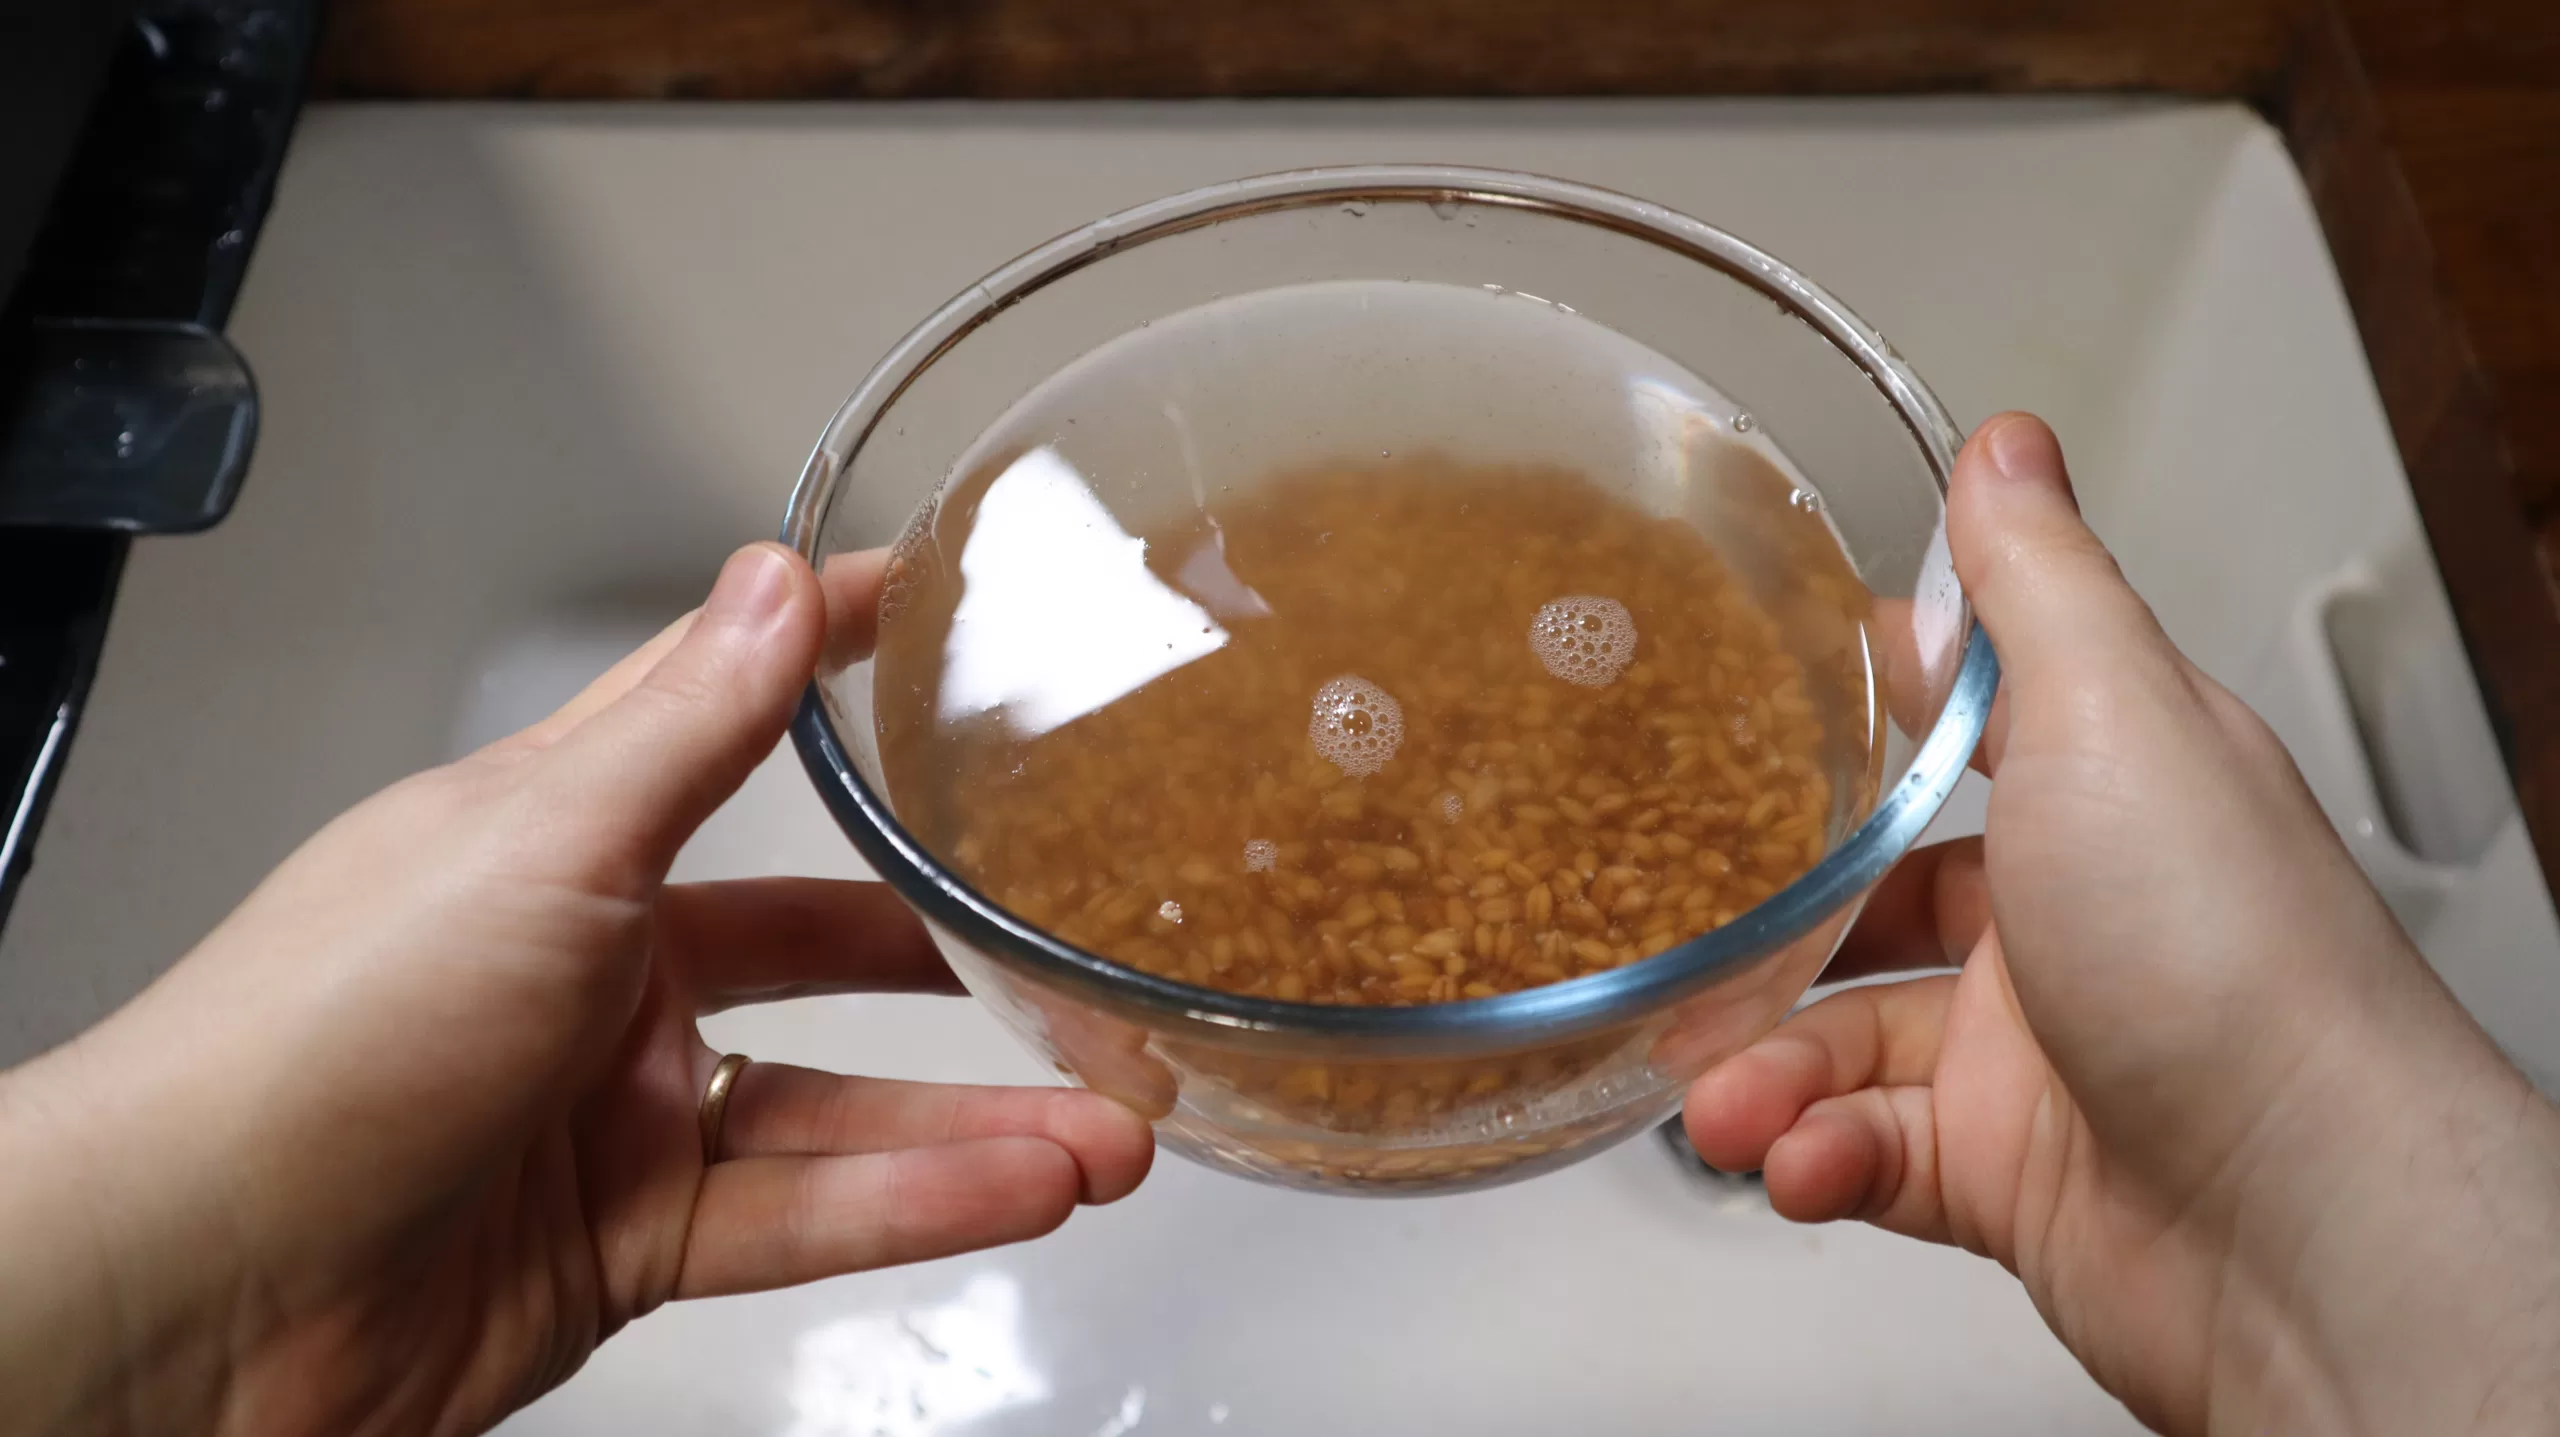
Step 2 – Stir in your vinegar, cover the bowl with a lid or a wet kitchen towel, and leave on the counter for 24 hours.
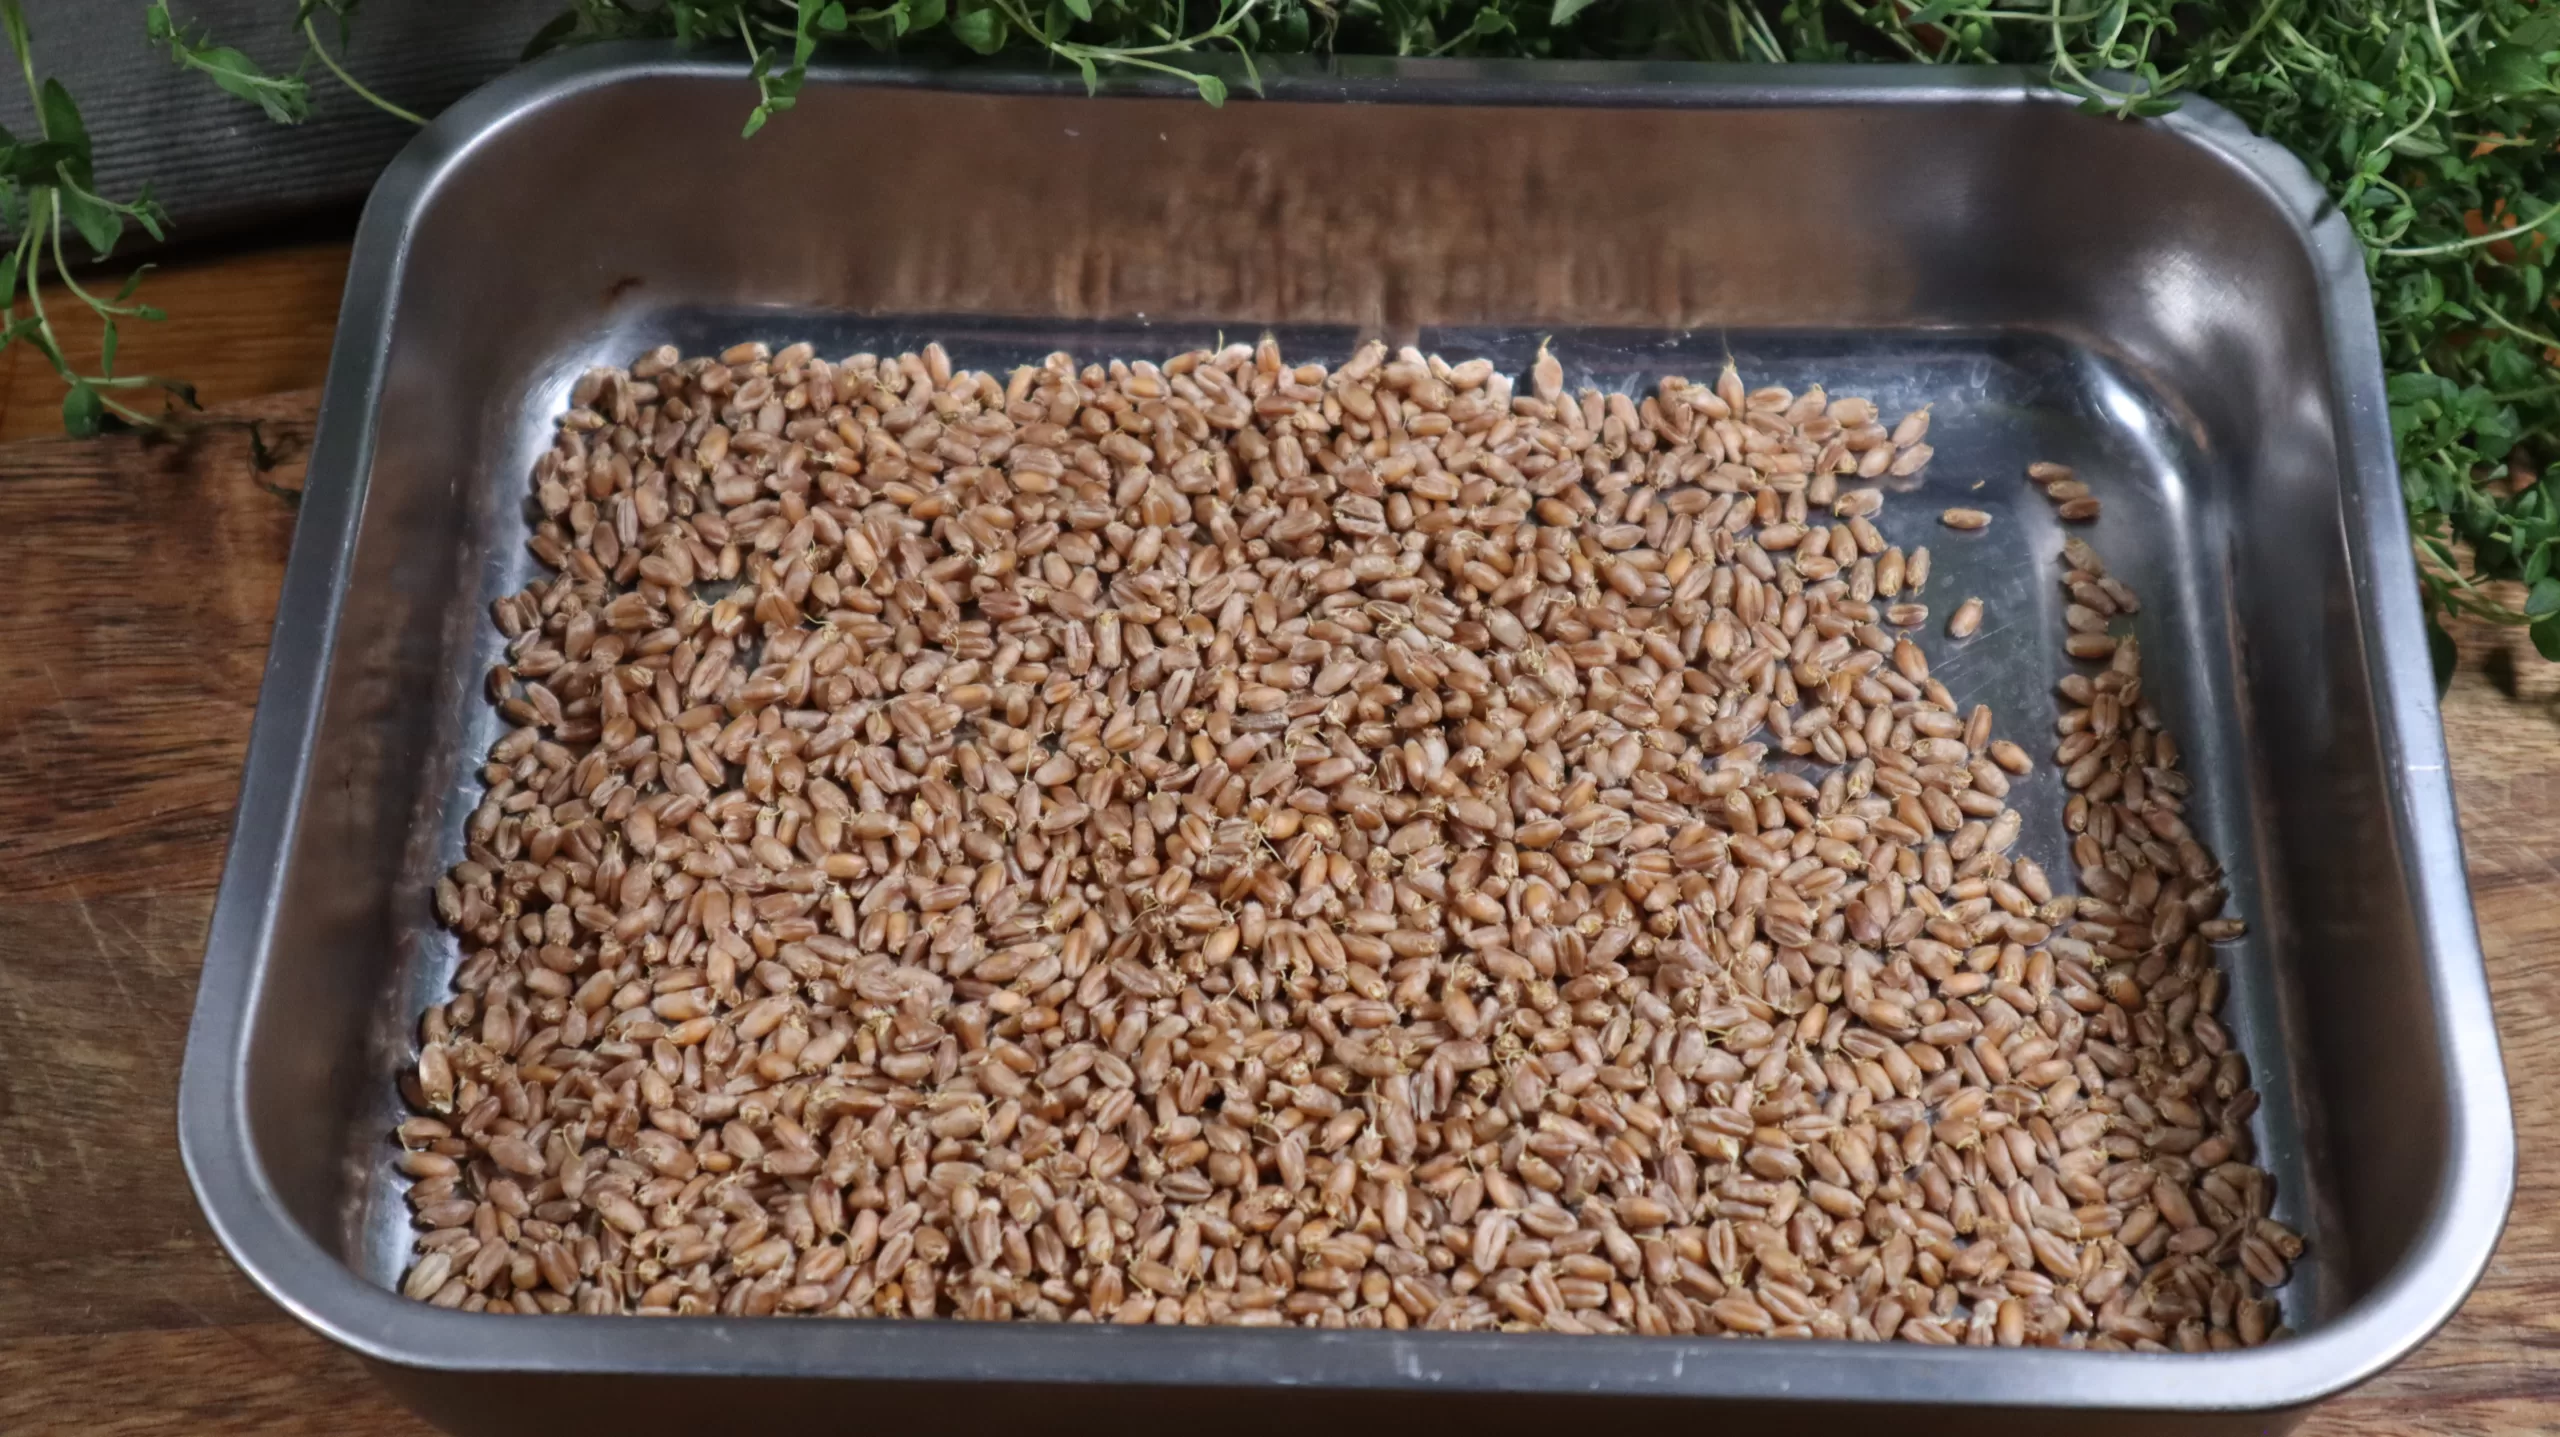
Step 3 – Drain and rinse your wheat berries, and then leave them in a single layer on a baking sheet, lightly covered with another baking tray.

Step 4 – Continue rinsing and raining your wheat berries three times a day for the next three days, until the grains have all sprouted and the sprouts are at least ¼” long.

Step 5 – Dehydrate your sprouted wheat berries by either drying them in a dehydrator or an oven set to the lowest temperature your oven can safely maintain until the berries are completely dried.
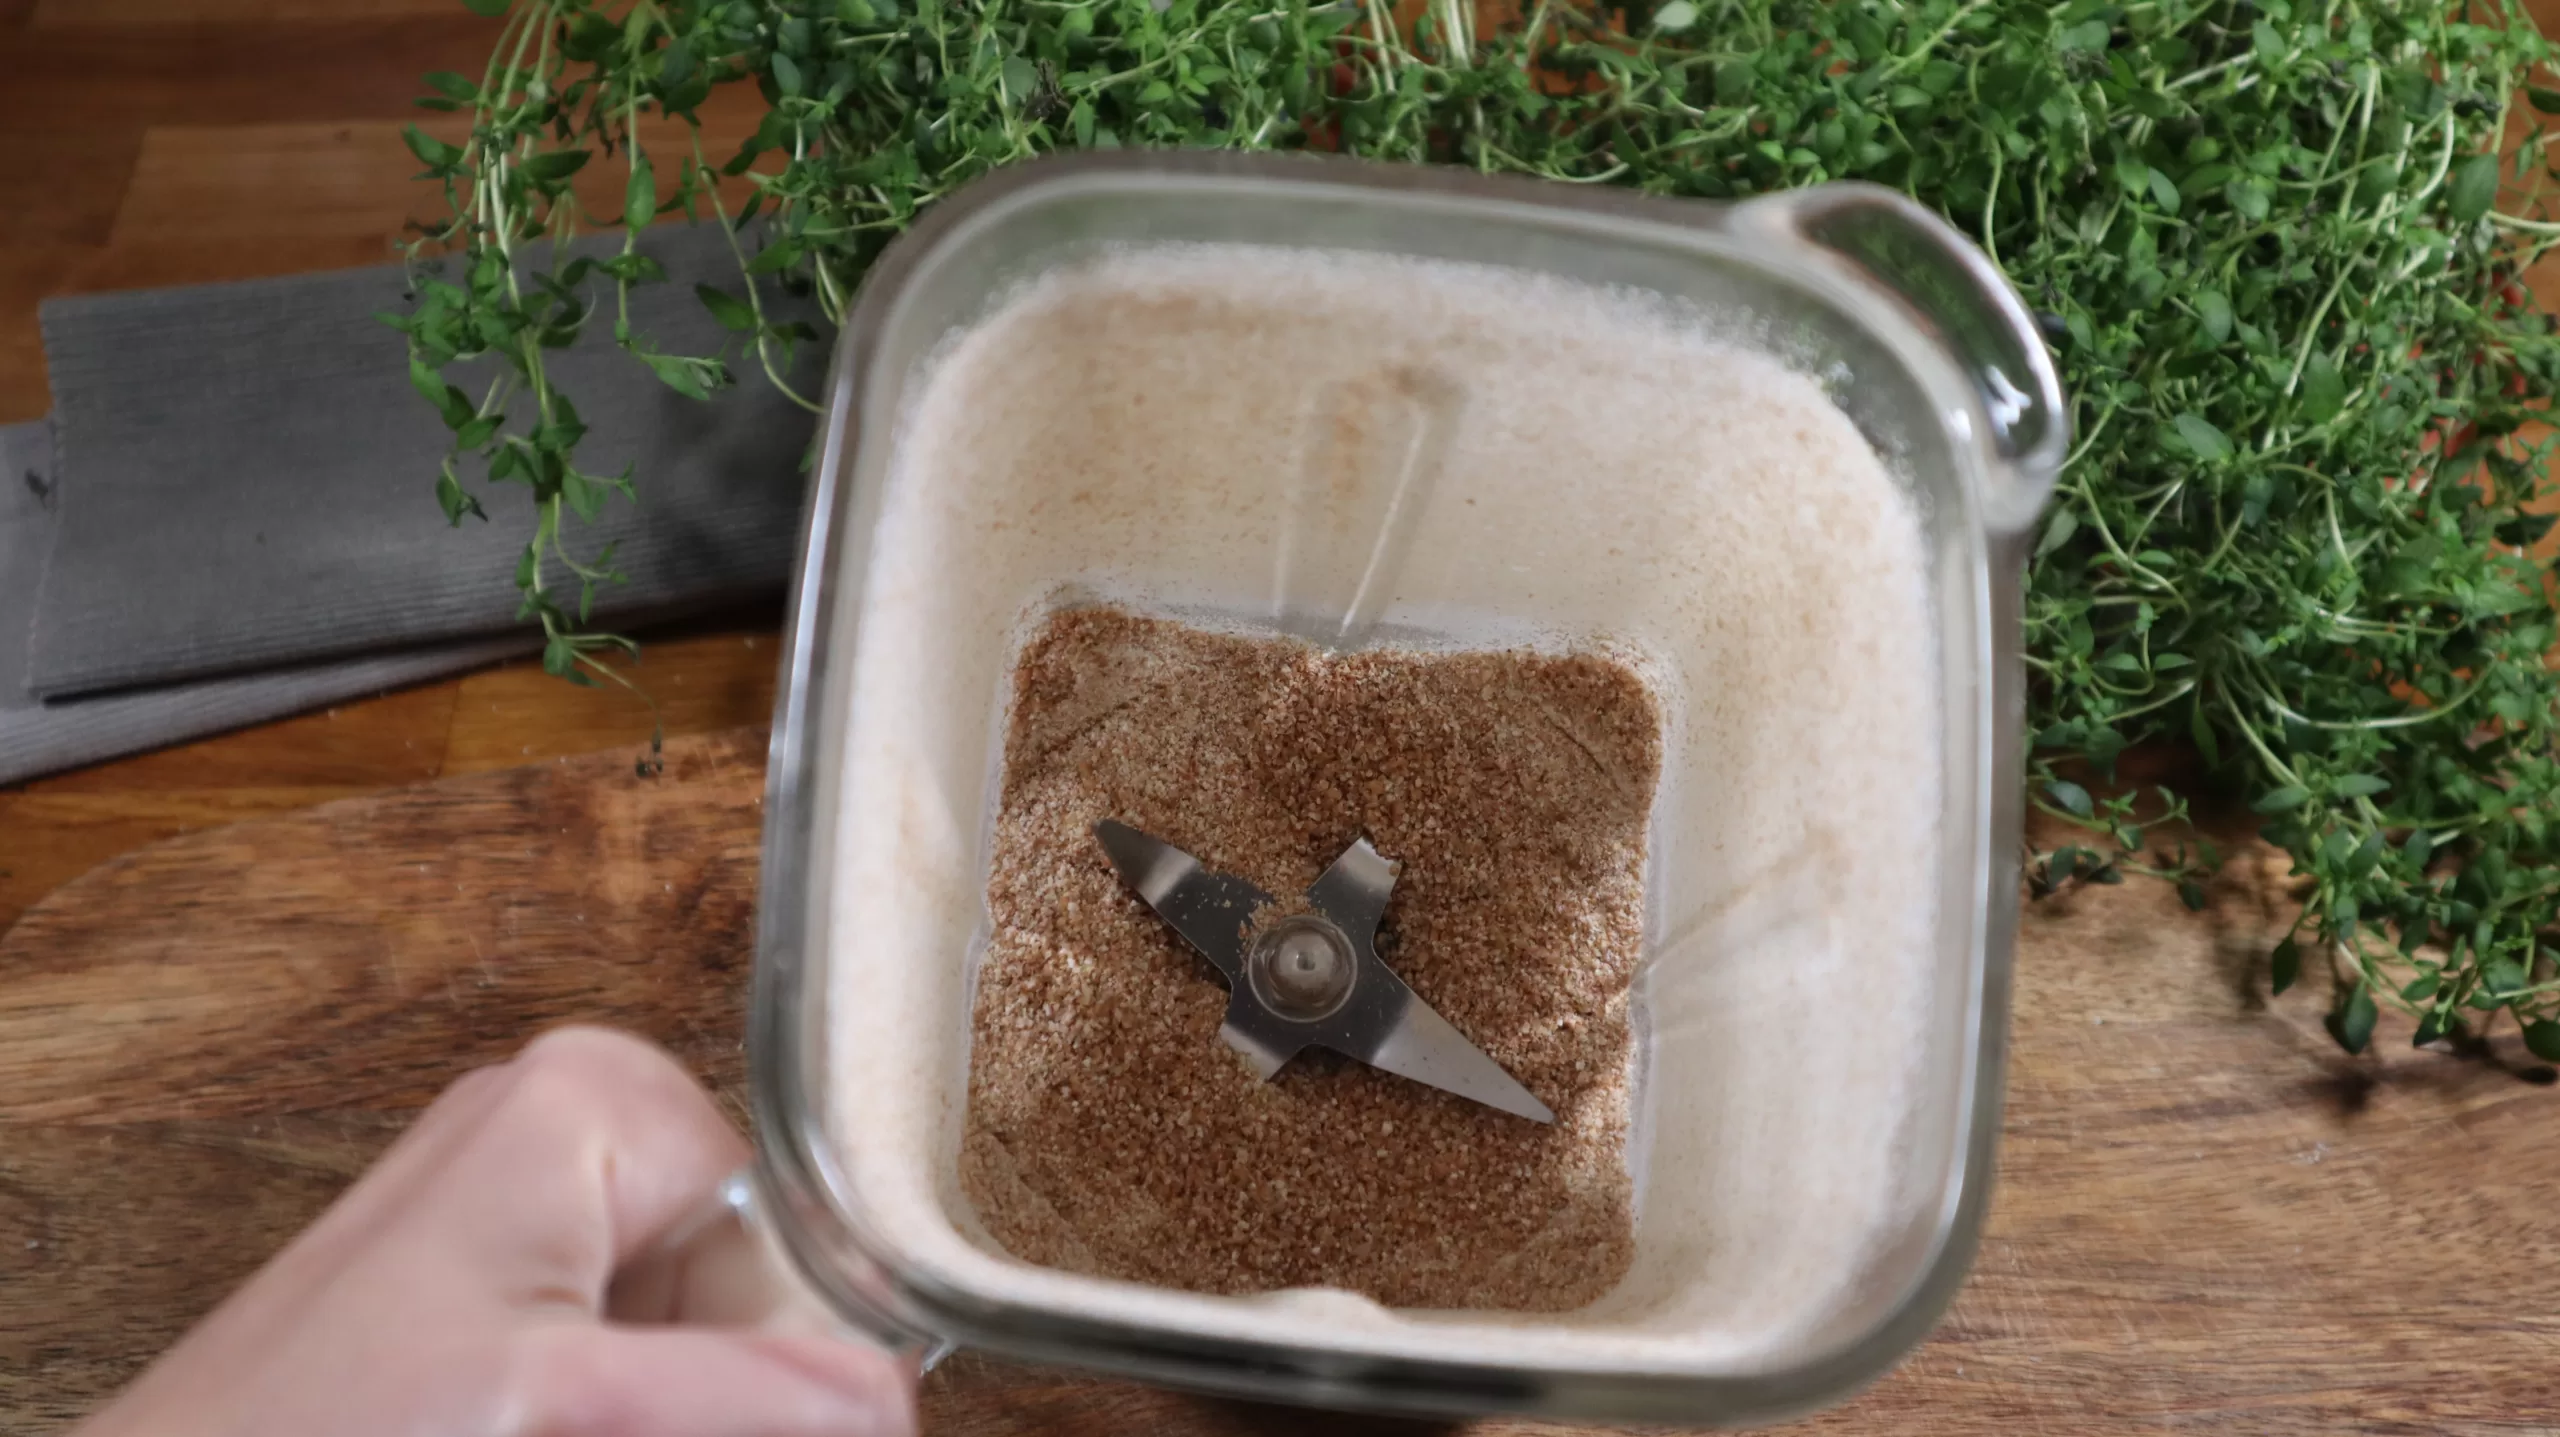
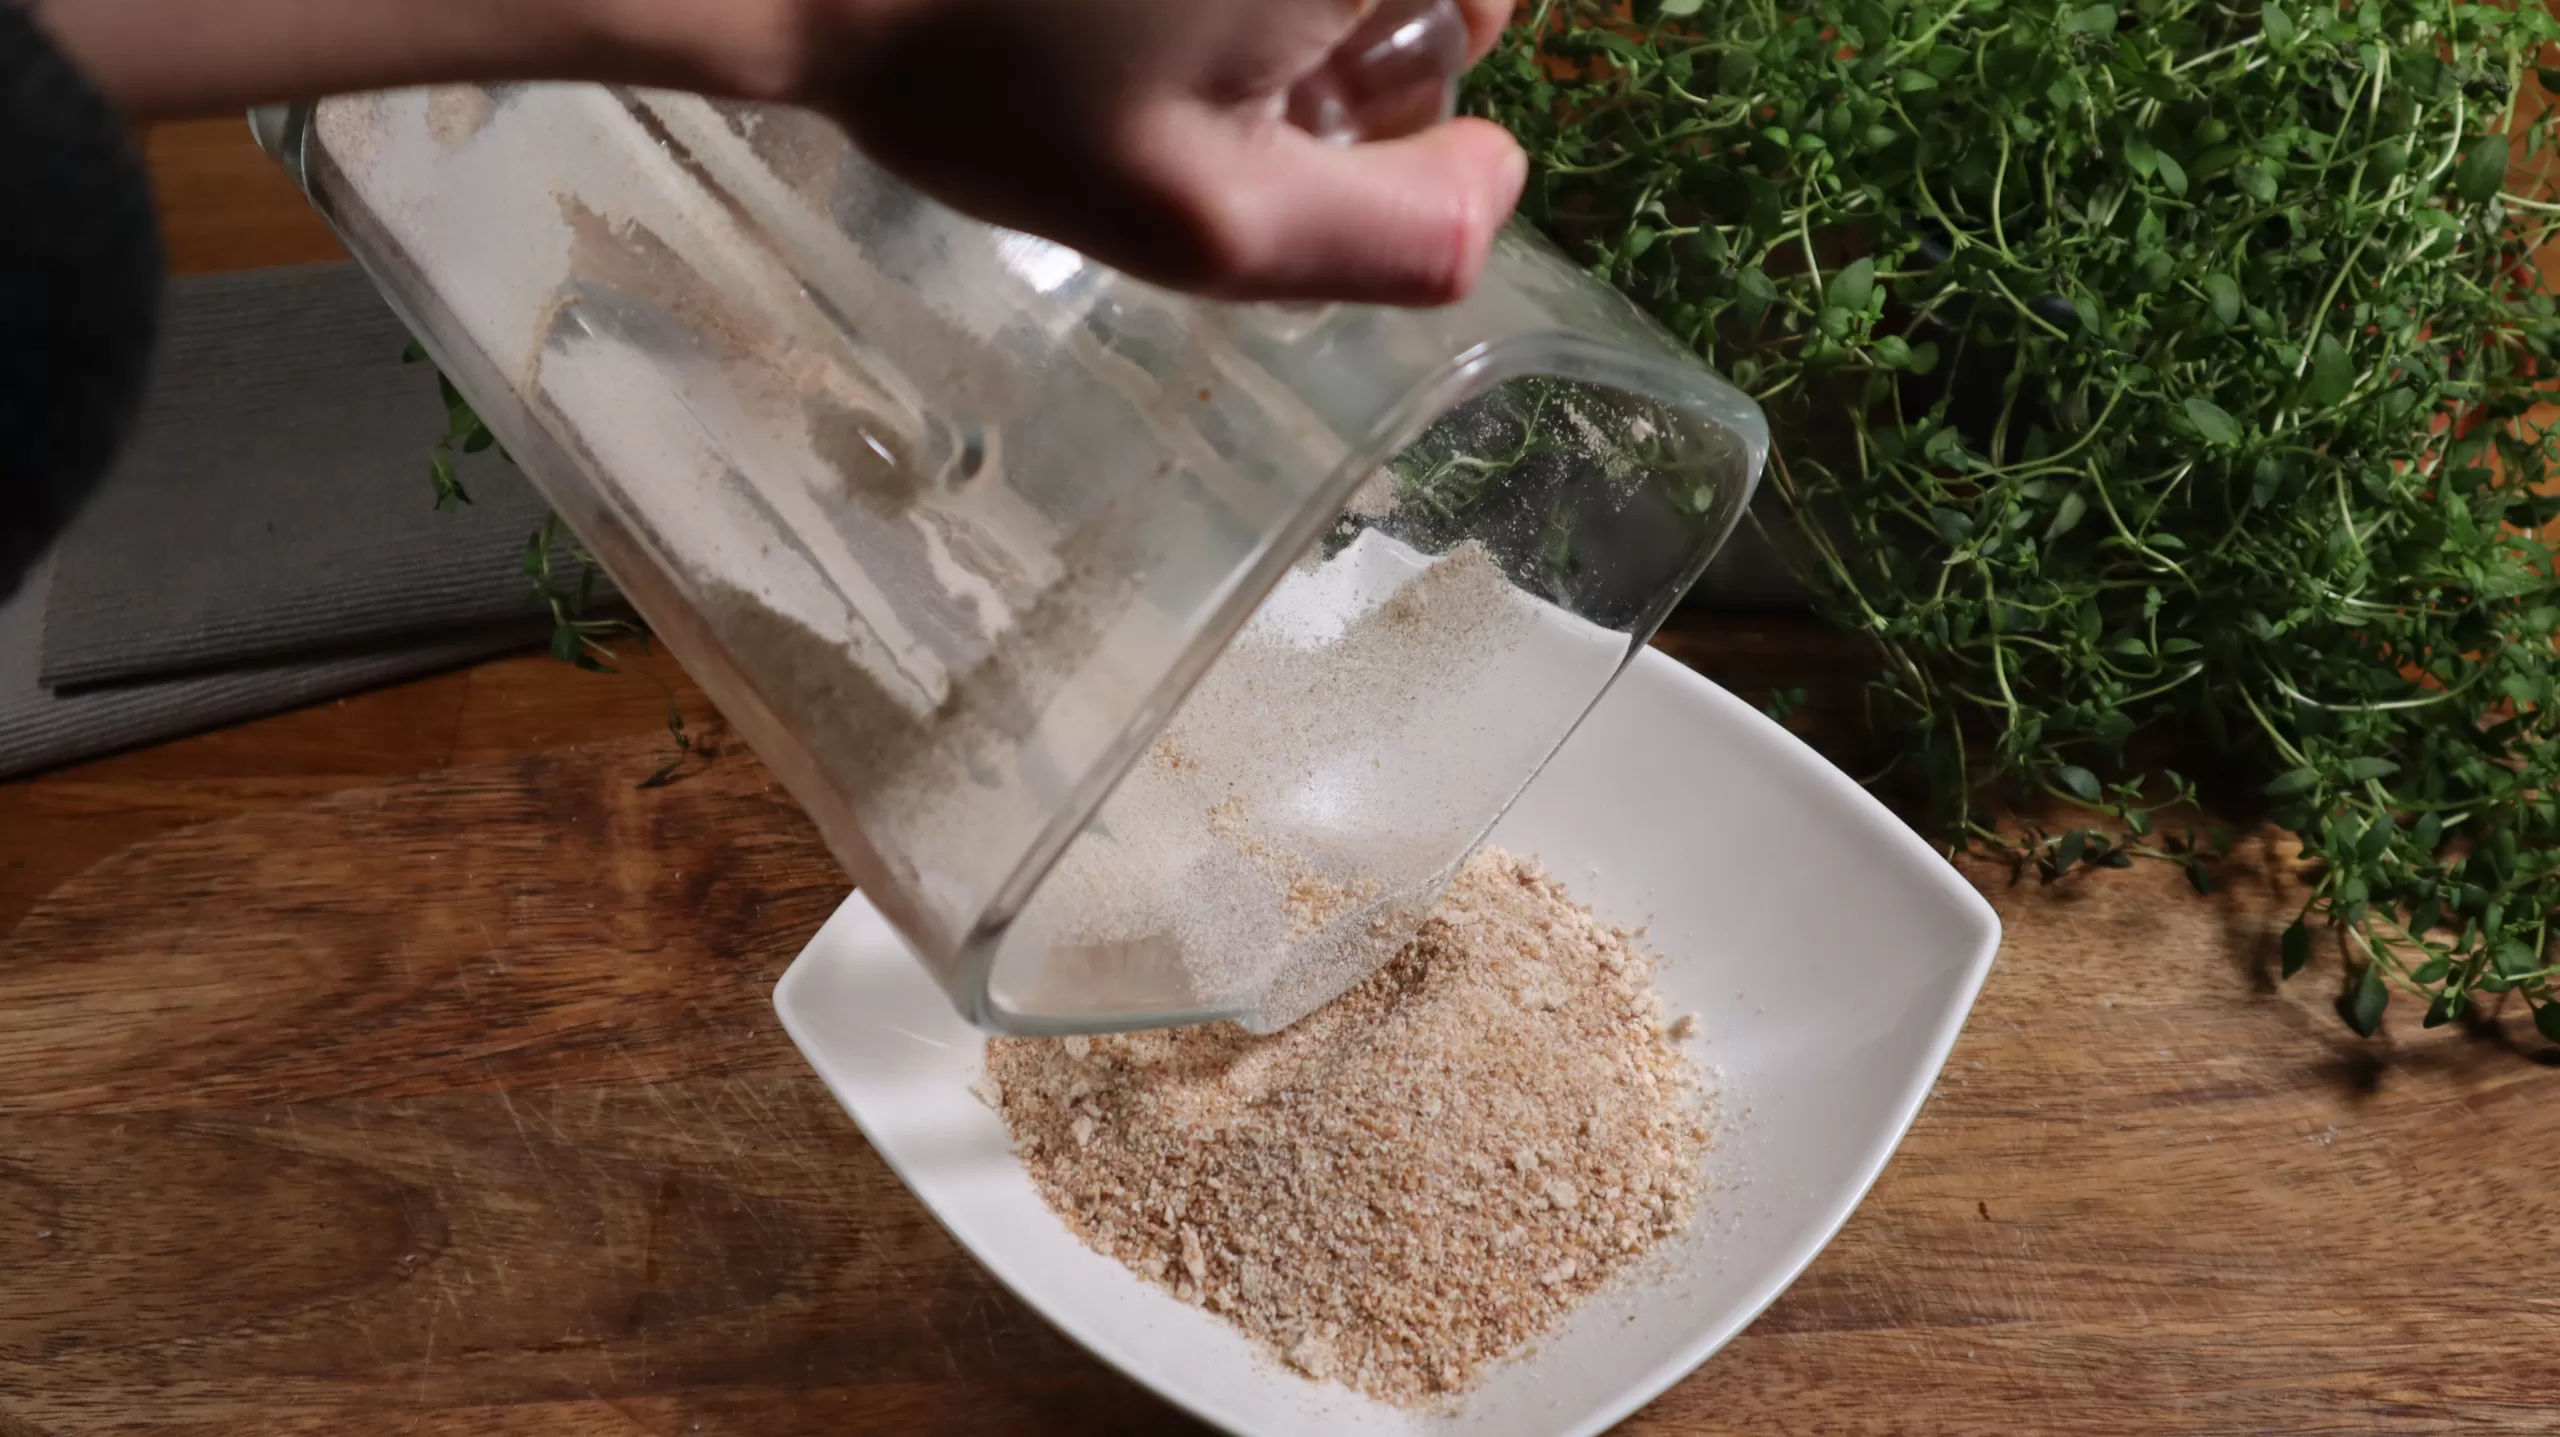
Step 6 – Process your dehydrated sprouted grains, either in a grain mill or a blender, and blitz them until they are finely milled flour.
Step 7 – Store your sprouted flour in a sealed container for up to 3 months.
Troubleshooting Tips
• One issue you might run into is that your sprouted grains begin to develop mold, especially along the surface of the grains as they sit in the bowl. The best way to avoid this is to regularly change the water and rinse the grains off, at least every day, but ideally a minimum of twice a day. If you do get a mold that grows on the surface of your grains, though, don’t try to save it; the mold will likely have infected every part of the grains, so you should really just throw the whole thing away and start again.
• Trying to maintain a bowl of sprouted grains can be a bit arduous and time-consuming, and it is easy to just forget about them on your counter for too long. If you leave your sprouted grains too long, they may over-sprout, producing incredibly long, tall tendrils of little wheat shoots. If this happens, you might just need to start again, as these little mini-plants won’t grind up properly into flour, and could even ruin the texture of what you end up baking. However, if the tendrils are only tiny, less than a centimeter long, then it should still be fine to use.
Nutritional Facts
For the health-conscious out there, here are the nutritional details for 1/4 cup of sprouted flour.
Calories: 53
Total Fat: 0.3 grams
Saturated Fat: 0.1 grams
Cholesterol: 0 milligrams
Sodium: 4 milligrams
Total Carbohydrates: 11.5 grams
Dietary Fiber: 0.3 grams
Sugars: 0 grams
Protein: 2 gram
Potassium: 46milligrams
FAQs
The addition of a sprinkling of acid into your sprouting wheat berries does 2 things: firstly, the acid helps to diminish any fledgling harmful bacteria that might be sitting on your wheat berries and ensures that nothing goes rancid as the flour berries sit.
Secondly, the acid helps encourage the wheat berries to begin their sprouting process, as the presence of mild acidity helps trigger the enzymes that get the whole thing going.
While the whole step would work just fine without acid, adding a touch of vinegar just helps things move along a bit.
Making homemade sprouted flour is definitely a bit of an involved process, so you might wonder whether or not the whole thing is really worth it.
Well, when you make sprouted flour, you encourage the development of a whole bunch of funky and flavorful compounds on the surface of the grains, which then get blended up into the flour, changing its flavor profile entirely.
You can expect your sprouted flour to taste just a little bit fermented, as well as a little bit sweet due to the converted maltose from the grains.
It might seem like a lot of work, but the added flavor can definitely make it worth it!

How to Make Your Own Sprouted Flour
Ingredients
1 cup whole wheat berries
Instructions
Step 1 – Pour your grains into a large bowl, and cover them completely with warm water, leaving an excess of around 2 inches of water on top to accommodate your wheat berries swelling.
Step 2 – Stir in your vinegar, cover the bowl with a lid or a wet kitchen towel, and leave on the counter for 24 hours.
Step 3 – Drain and rinse your wheat berries, and then leave them in a single layer on a baking sheet, lightly covered with another baking tray.
Step 4 – Continue rinsing and raining your wheat berries three times a day for the next three days, until the grains have all sprouted and the sprouts are at least ¼” long.
Step 5 – Dehydrate your sprouted wheat berries by either drying them in a dehydrator or an oven set to the lowest temperature your oven can safely maintain until the berries are completely dried.
Step 6 – Process your dehydrated sprouted grains, either in a grain mill or a blender, and blitz them until they are finely milled flour.
Step 7 – Store your sprouted flour in a sealed container for up to 3 months.
Nutrition Facts
- Serving Size: 1/4 cup


Leave a Comment