Self-rising flour is one of those super convenient little ingredients that you can keep around to help shave a little bit of time off of your baking recipes.
However, not everywhere always keeps self-rising flour in stock, so it is a good idea to learn how to make it yourself!
How Can I Use Self-Rising Flour?
Self-rising flour is the perfect easy solution for bakers who don’t want to have to carefully measure out and prepare their baking powder for their baking recipes.
You can use your self-rising flour in any recipe that would normally call for baking powder and flour, allowing you to skip the step of measuring out your baking powder and instead just use it pre-prepared!
What Kind Of Special Equipment Do I Need To Make Self-Rising Flour?
Making self-rising flour is as easy as just measuring out your ingredients, mixing them together, and then storing them, so no special equipment is needed!
Ingredients
1 cup of plain flour (or any other kind of flour you like)
1.25 tsp baking powder
1 pinch of salt

How To Make Your Own Self-Rising Flour
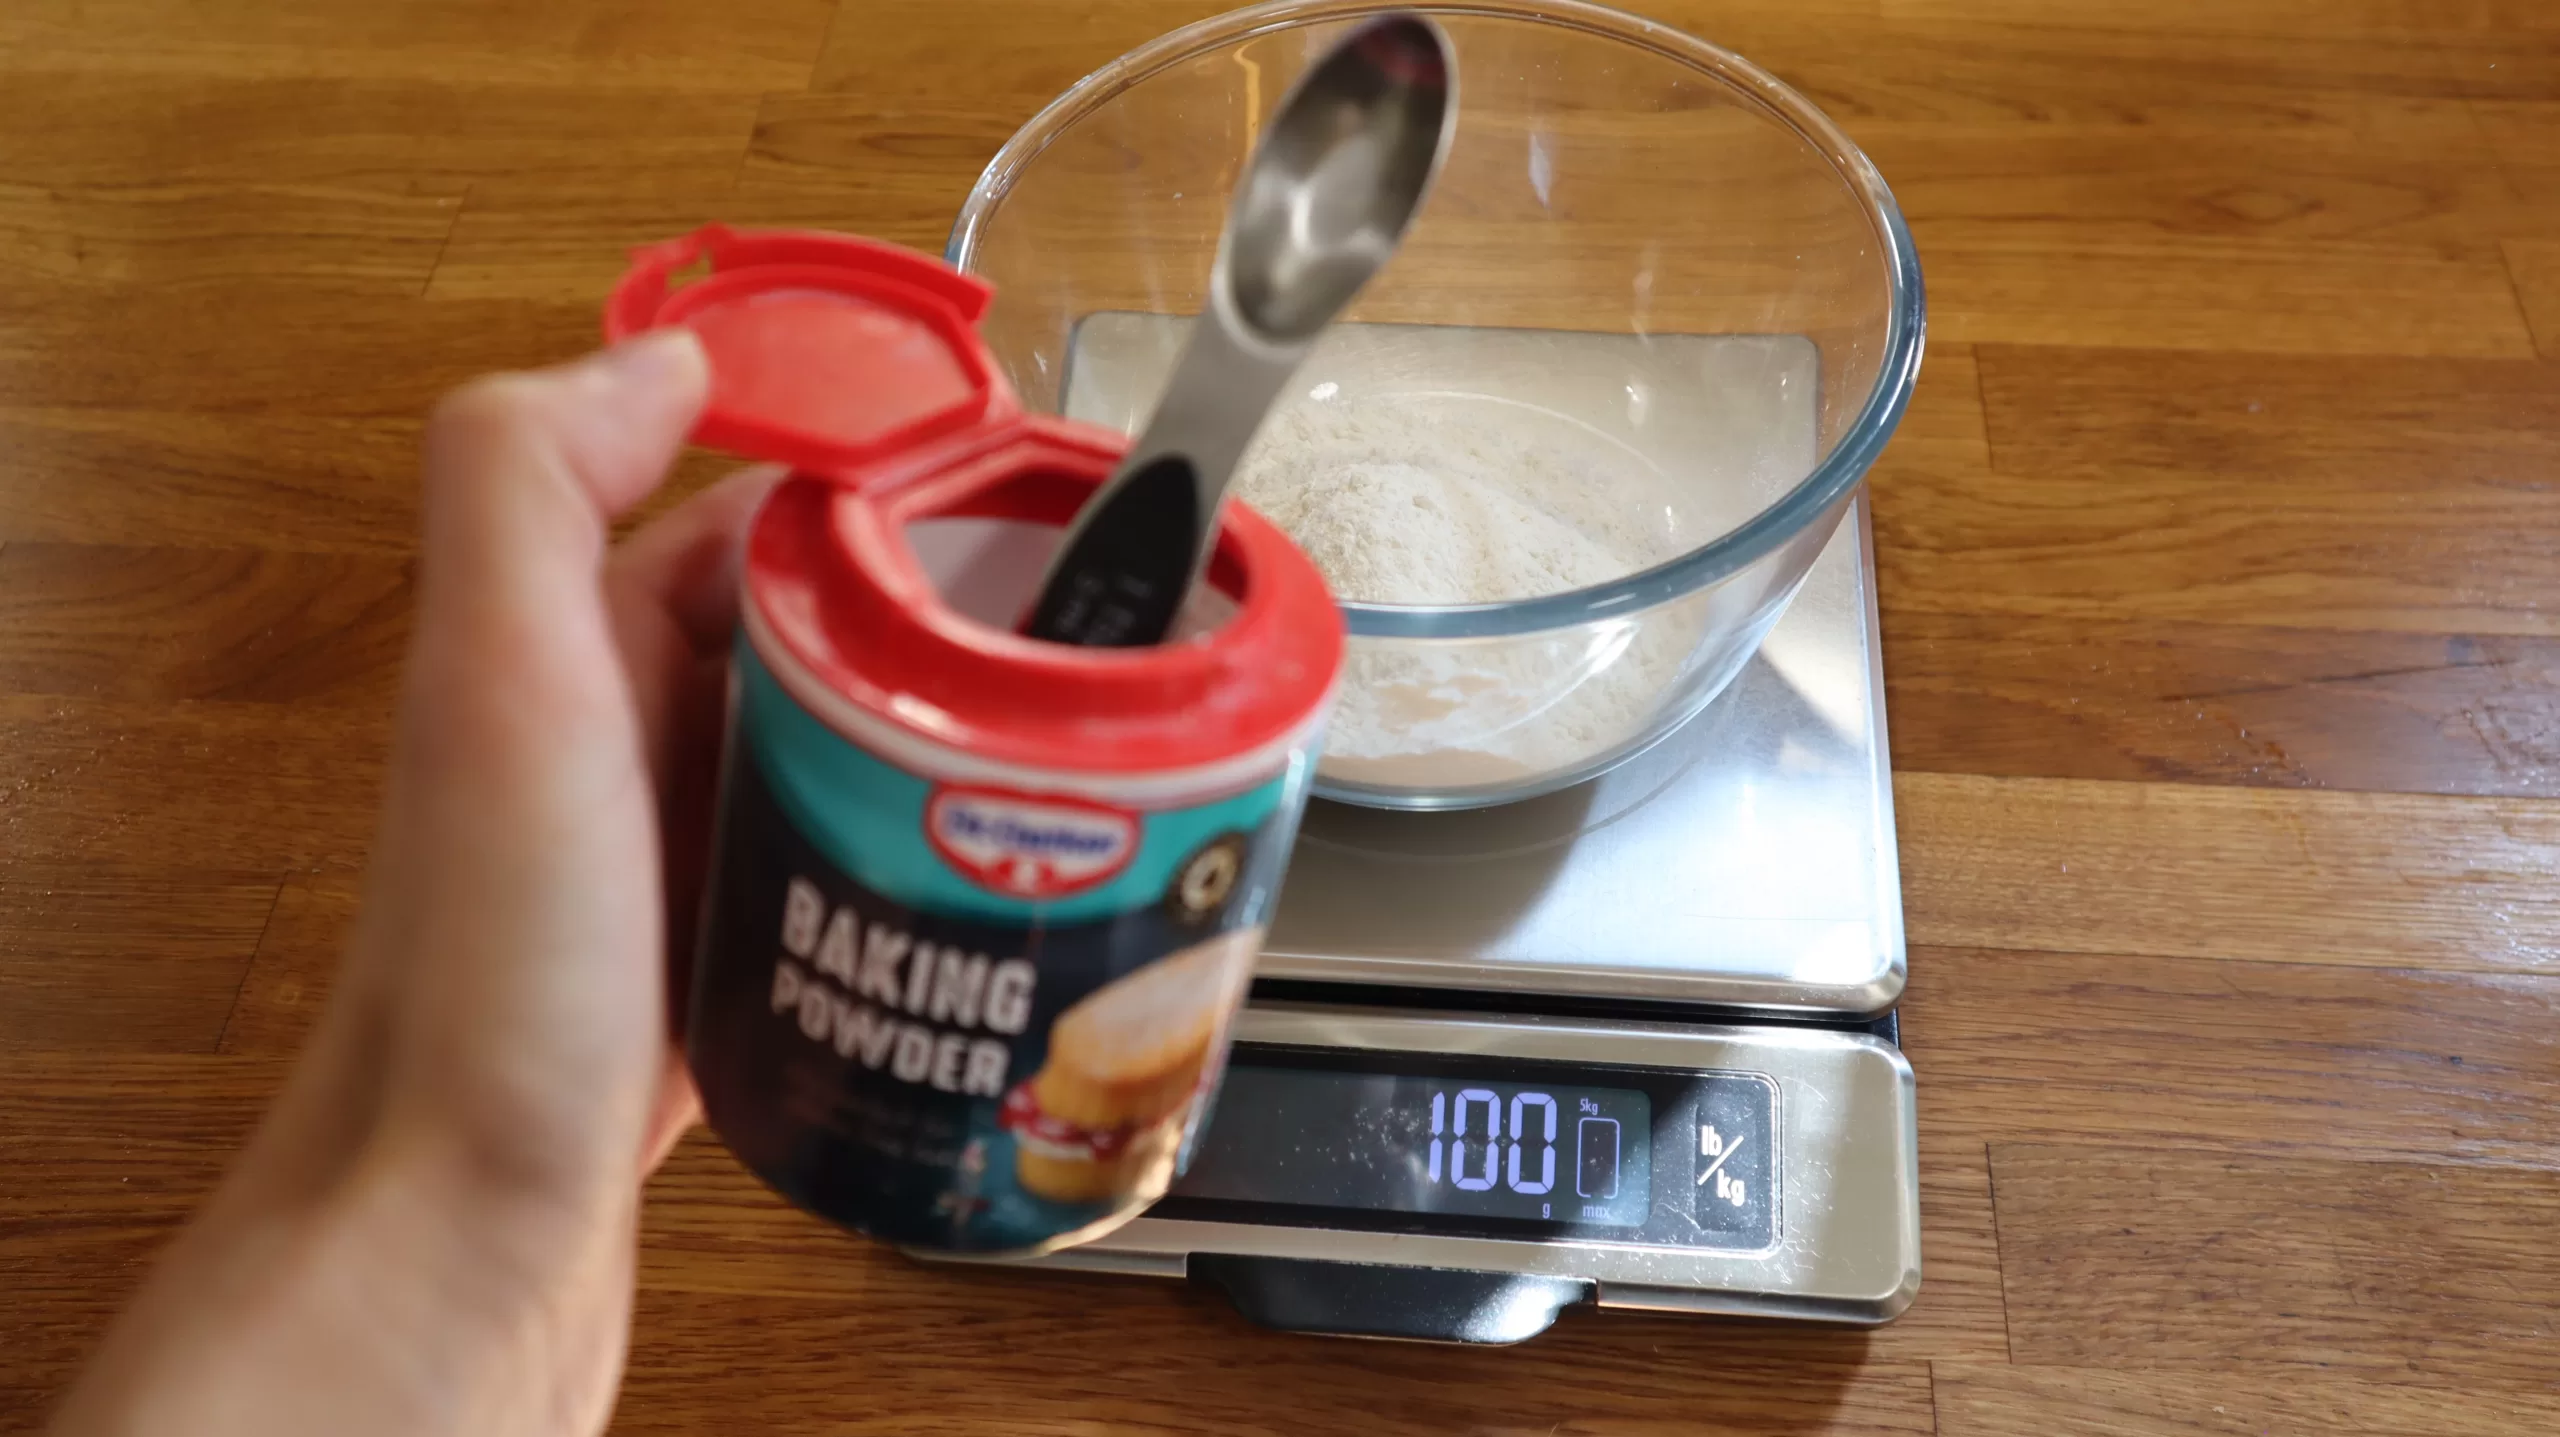
Step 1 – Measure out your flour and baking powder into separate ramekins or small bowls.

Step 2 – Combine the two, whisking them together until completely combined.
Step 3 – Store your now combined self-rising flour in a sealed container in the cupboard for up to 3 months.
Watch the Video Version…

Troubleshooting Tips
• After making your self-rising flour and using it in a few recipes, you might find that whatever you use it in isn’t quite rising properly. This would obviously be a huge problem since the whole reason you made this instead of just using regular flour and raising agents was to ensure that you could easily get anything you cook it with to rise easily. If this happens, it could be that your baking powder is simply too old. To avoid this happening, make sure to only use baking powder that is within its sell-by date, and hasn’t been open so long as to go stale.
• If you find that your flour and baking powder aren’t quite mixing together properly using a regular hand whisk, feel free to swap to an electric mixer to help speed the whole process up a bit. Just make sure that you keep the speed low enough that it doesn’t kick flour all over your kitchen!
Nutritional Facts
For the health-conscious out there, here are the nutritional details for 1/4 cup of self-rising flour.
Calories: 182
Total Fat: 0.5 grams
Saturated Fat: 0.1 grams
Cholesterol: 0 milligrams
Sodium: 38.75 milligrams
Total Carbohydrates: 38.2 grams
Dietary Fiber: 1.4 grams
Sugars: 0.1 grams
Protein: 5.2 gram
Potassium: 54milligrams
FAQs
This recipe calls for the use of regular, plain, white flour, mostly because it is going to be the most versatile option, making it useable in all sorts of different recipes.
However, there is absolutely nothing stopping you from trying out different types of flour instead. Some wholemeal flour, or even some potato flour or rice flour instead could be a good choice. Just use whatever it is you think that you are most likely to use most often!
This recipe uses baking powder because that is the most commonly used raising agent in most self-rising flours sold in supermarkets. However, you absolutely could use baking soda instead of baking powder if you wanted.
Keep in mind, though, that if you do this, you won’t get any actual lift in whatever you use your self-rising flour without a good amount of acid added to this. This is because baking powder is basically just baking soda with an exact amount of cream of tartar in it to act as the acid.
So unless you are planning on using your self-rising flour only in super acidic recipes, it is probably best to use baking powder here.
When most people think of raising agents, they are far more likely to think of something like yeast than they are baking powder.
However, even though yeast definitely is one of the strongest rising agents there is, you really don’t want to be trying to make a ready-made mix of flour and yeast for use in things like bread.
This is because yeast particle size is a lot bigger than something fine and powdery like baking powder, so you just won’t be able to mix them together properly. Instead, you will just end up with a bunch of floury yeast grains at the bottom of your container, with the majority of the flour just being regular flour. Instead, just keep your dried yeast separate and add it when necessary to whatever you are baking.
How to Make Your Own Self-Rising Flour
Ingredients
100g plain flour
1 tsp baking powder
Instructions
Step 1 – Measure out your flour and baking powder into separate ramekins or small bowls.
Step 2 – Combine the two, whisking them together until completely combined.
Step 3 – Store your now combined self-rising flour in a sealed container in the cupboard for up to 3 months.
Nutrition Facts
- Serving Size: 2


Leave a Comment